Deeploy Quick Setup
First deployment checklist for CSPs using Deeploy.
Deeploy Quick Setup
What this covers
This page gives you a practical first-run path: onboarding requirements, secrets setup, first project/job creation, and escrow-backed deployment.
Prerequisites
Before deploying with Deeploy, confirm:
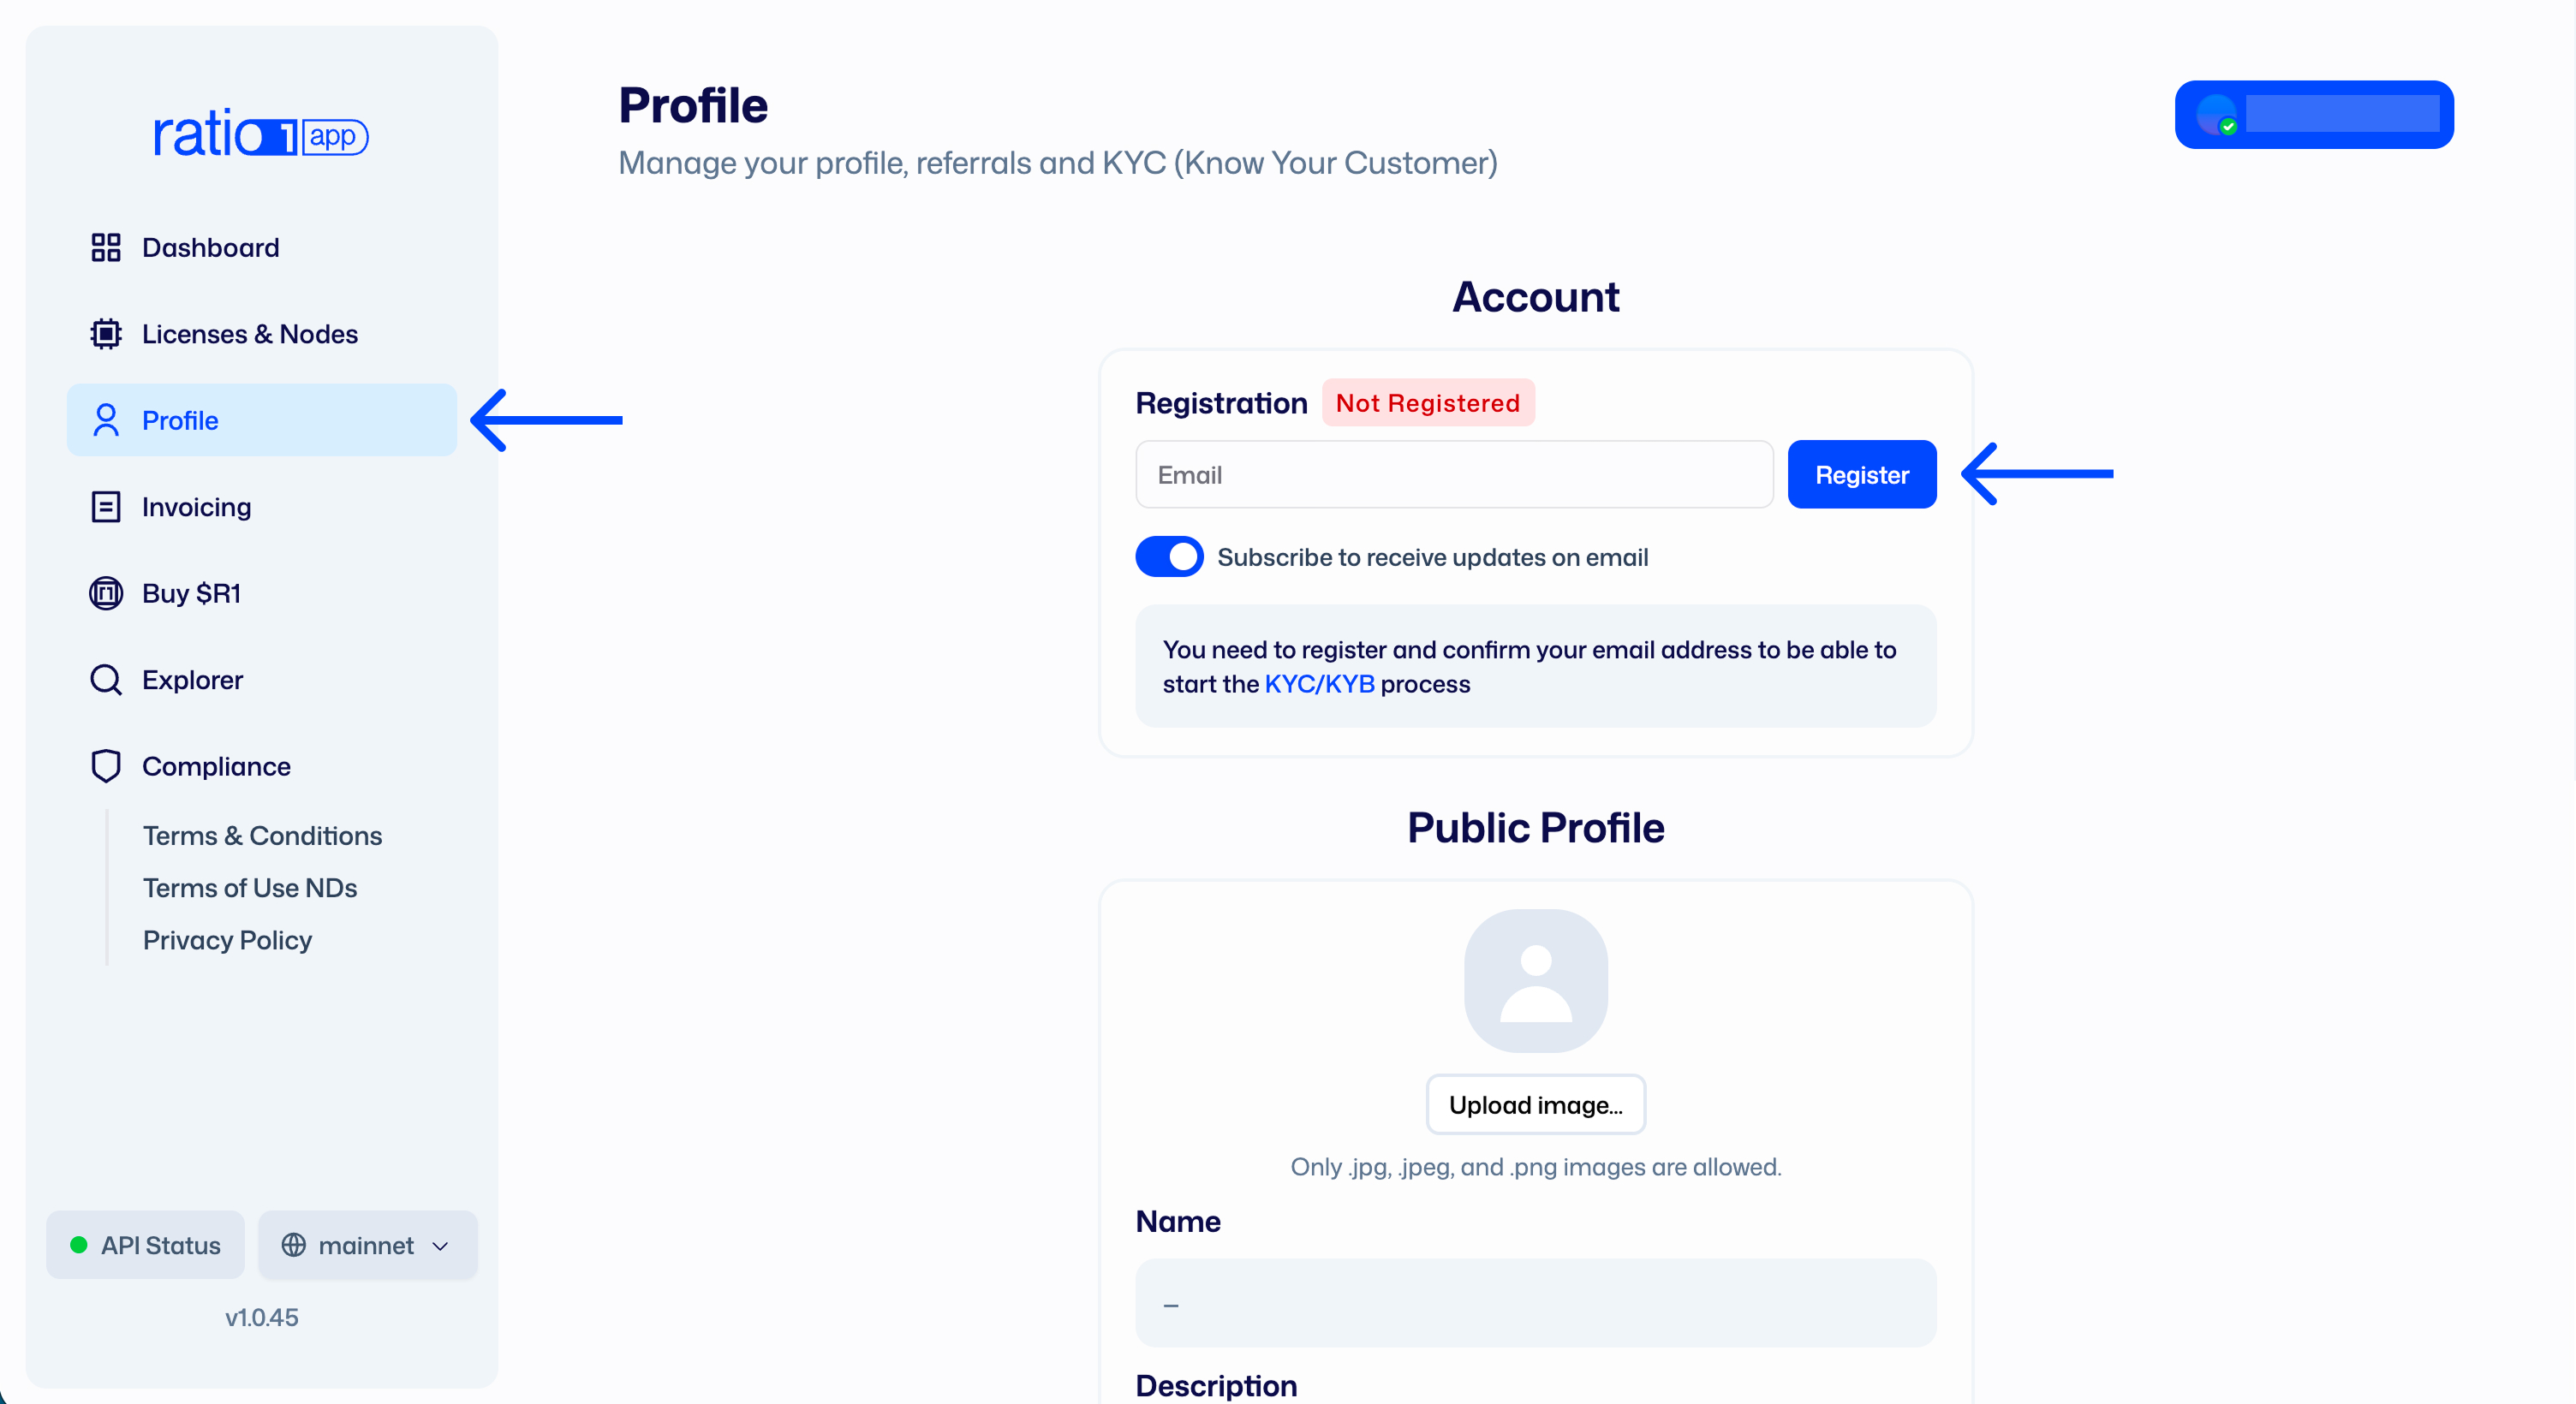
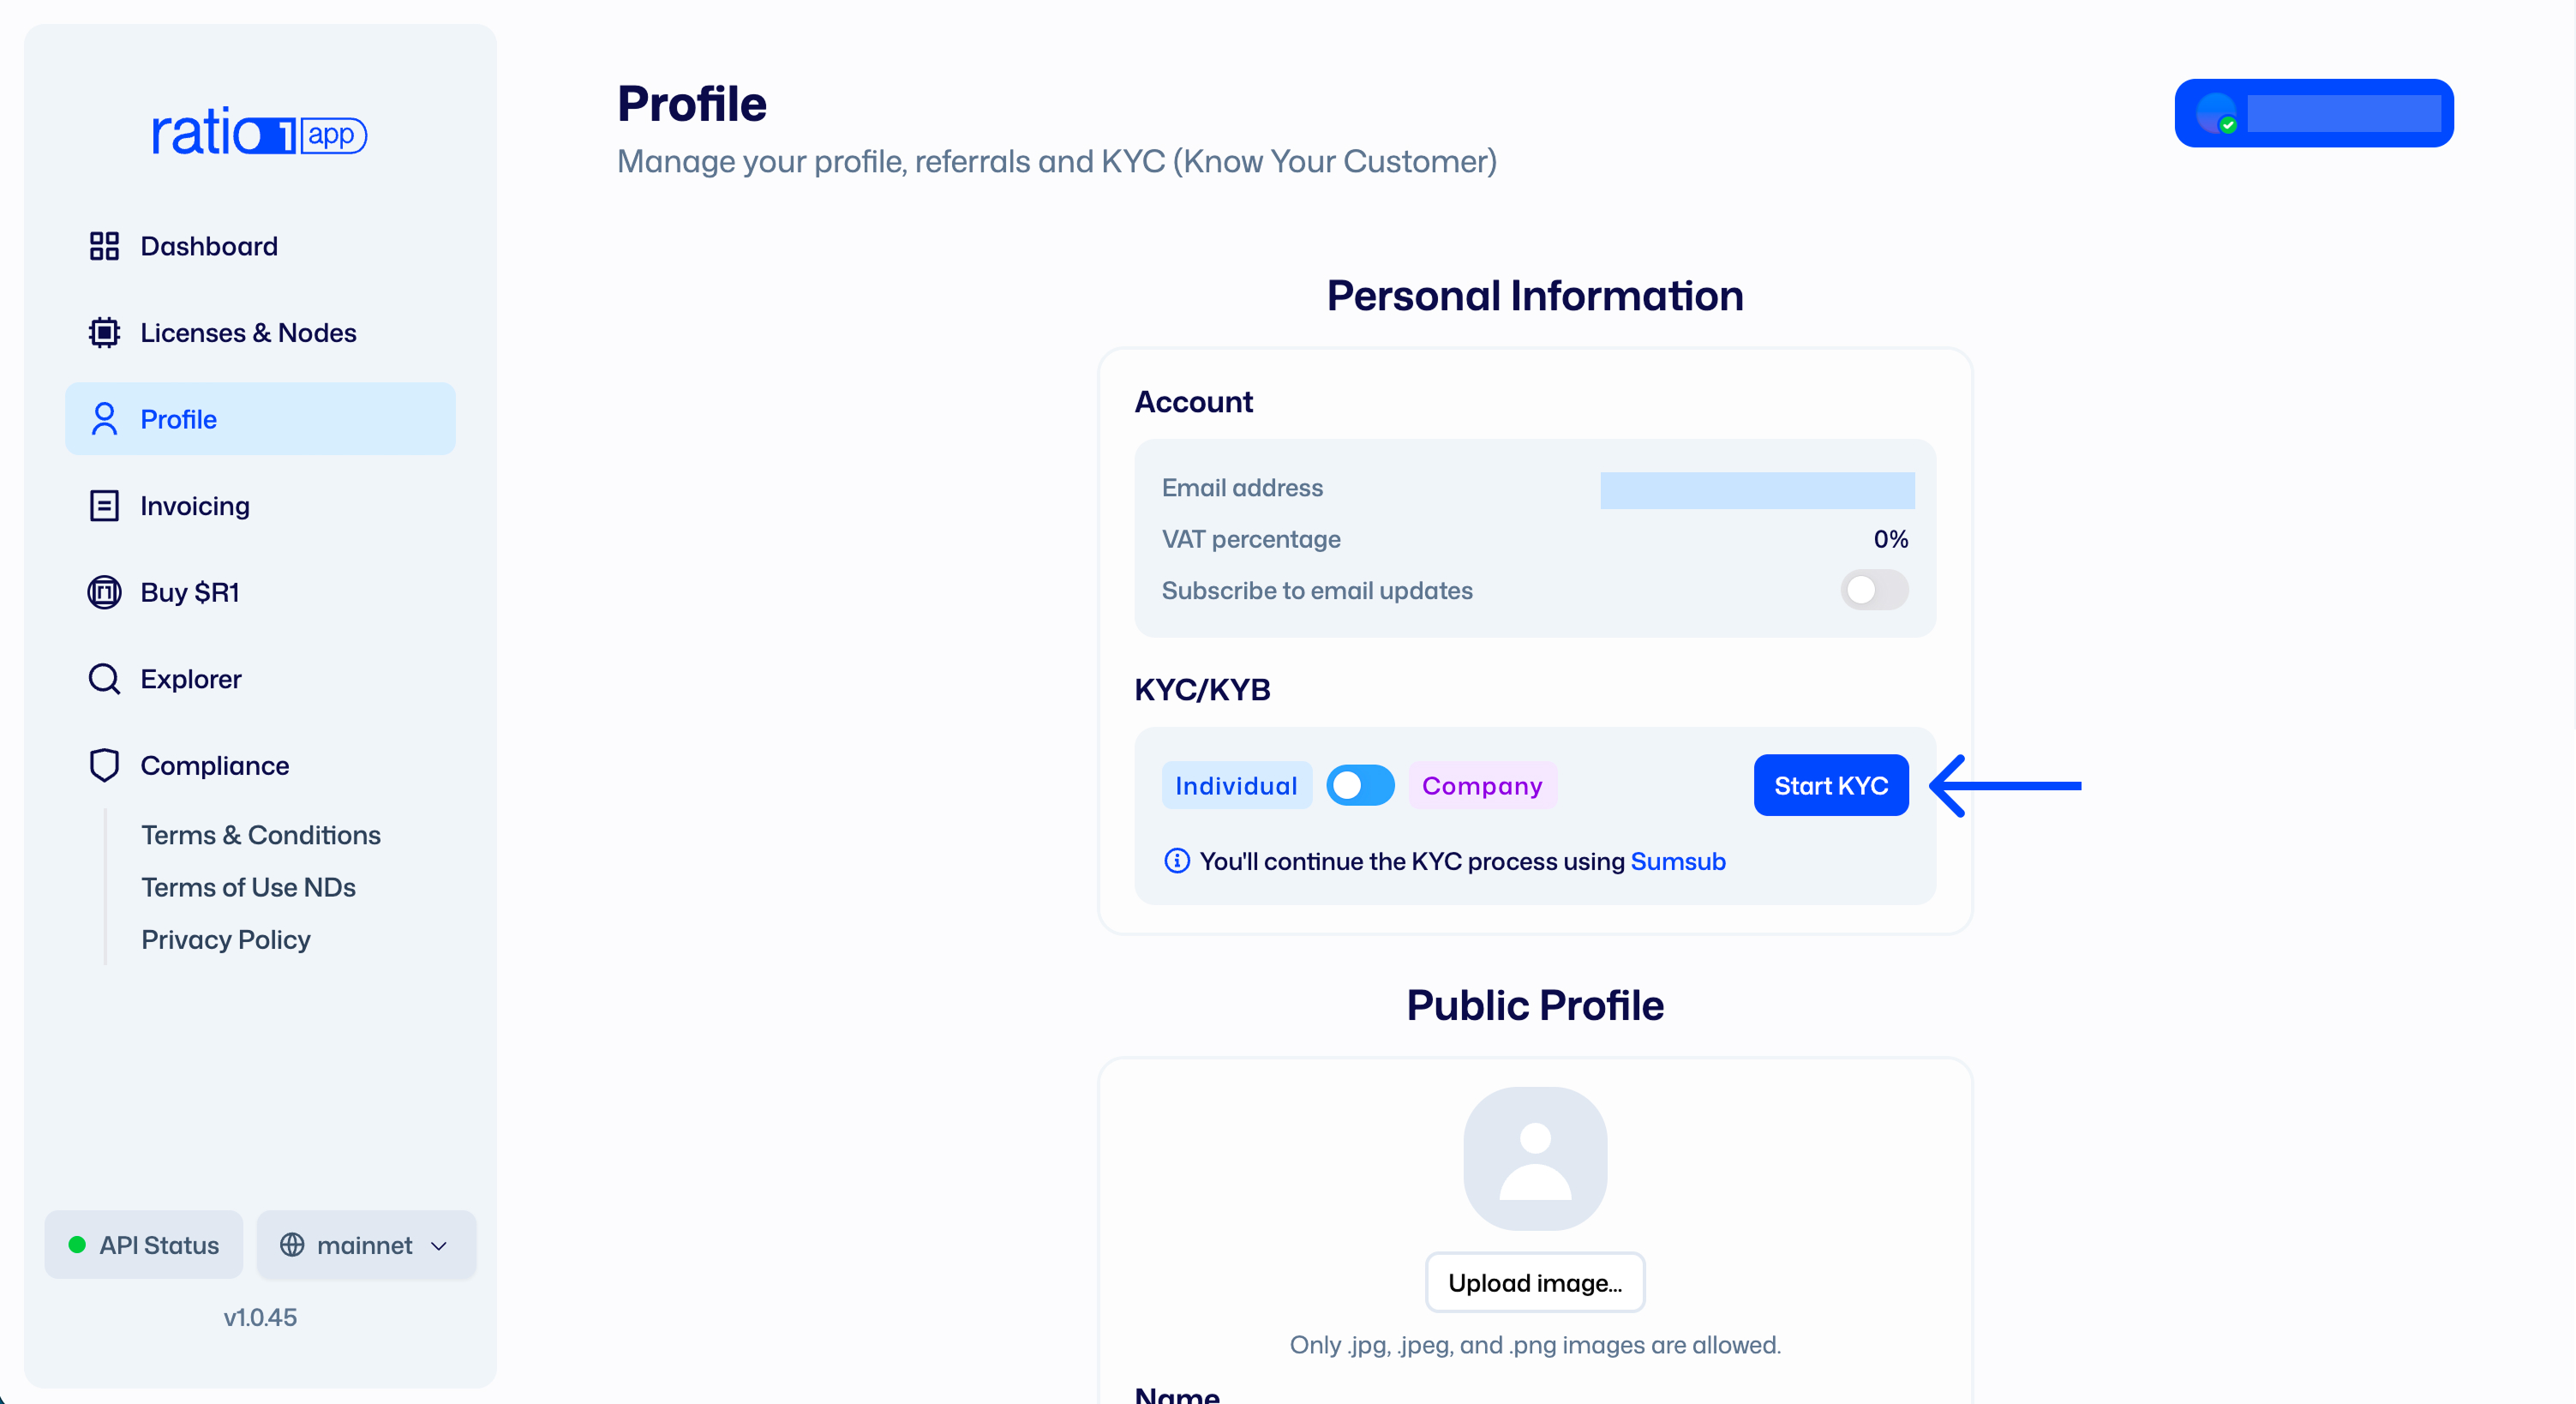
- You have passed the KYB/KYC process (via https://app.ratio1.ai/)
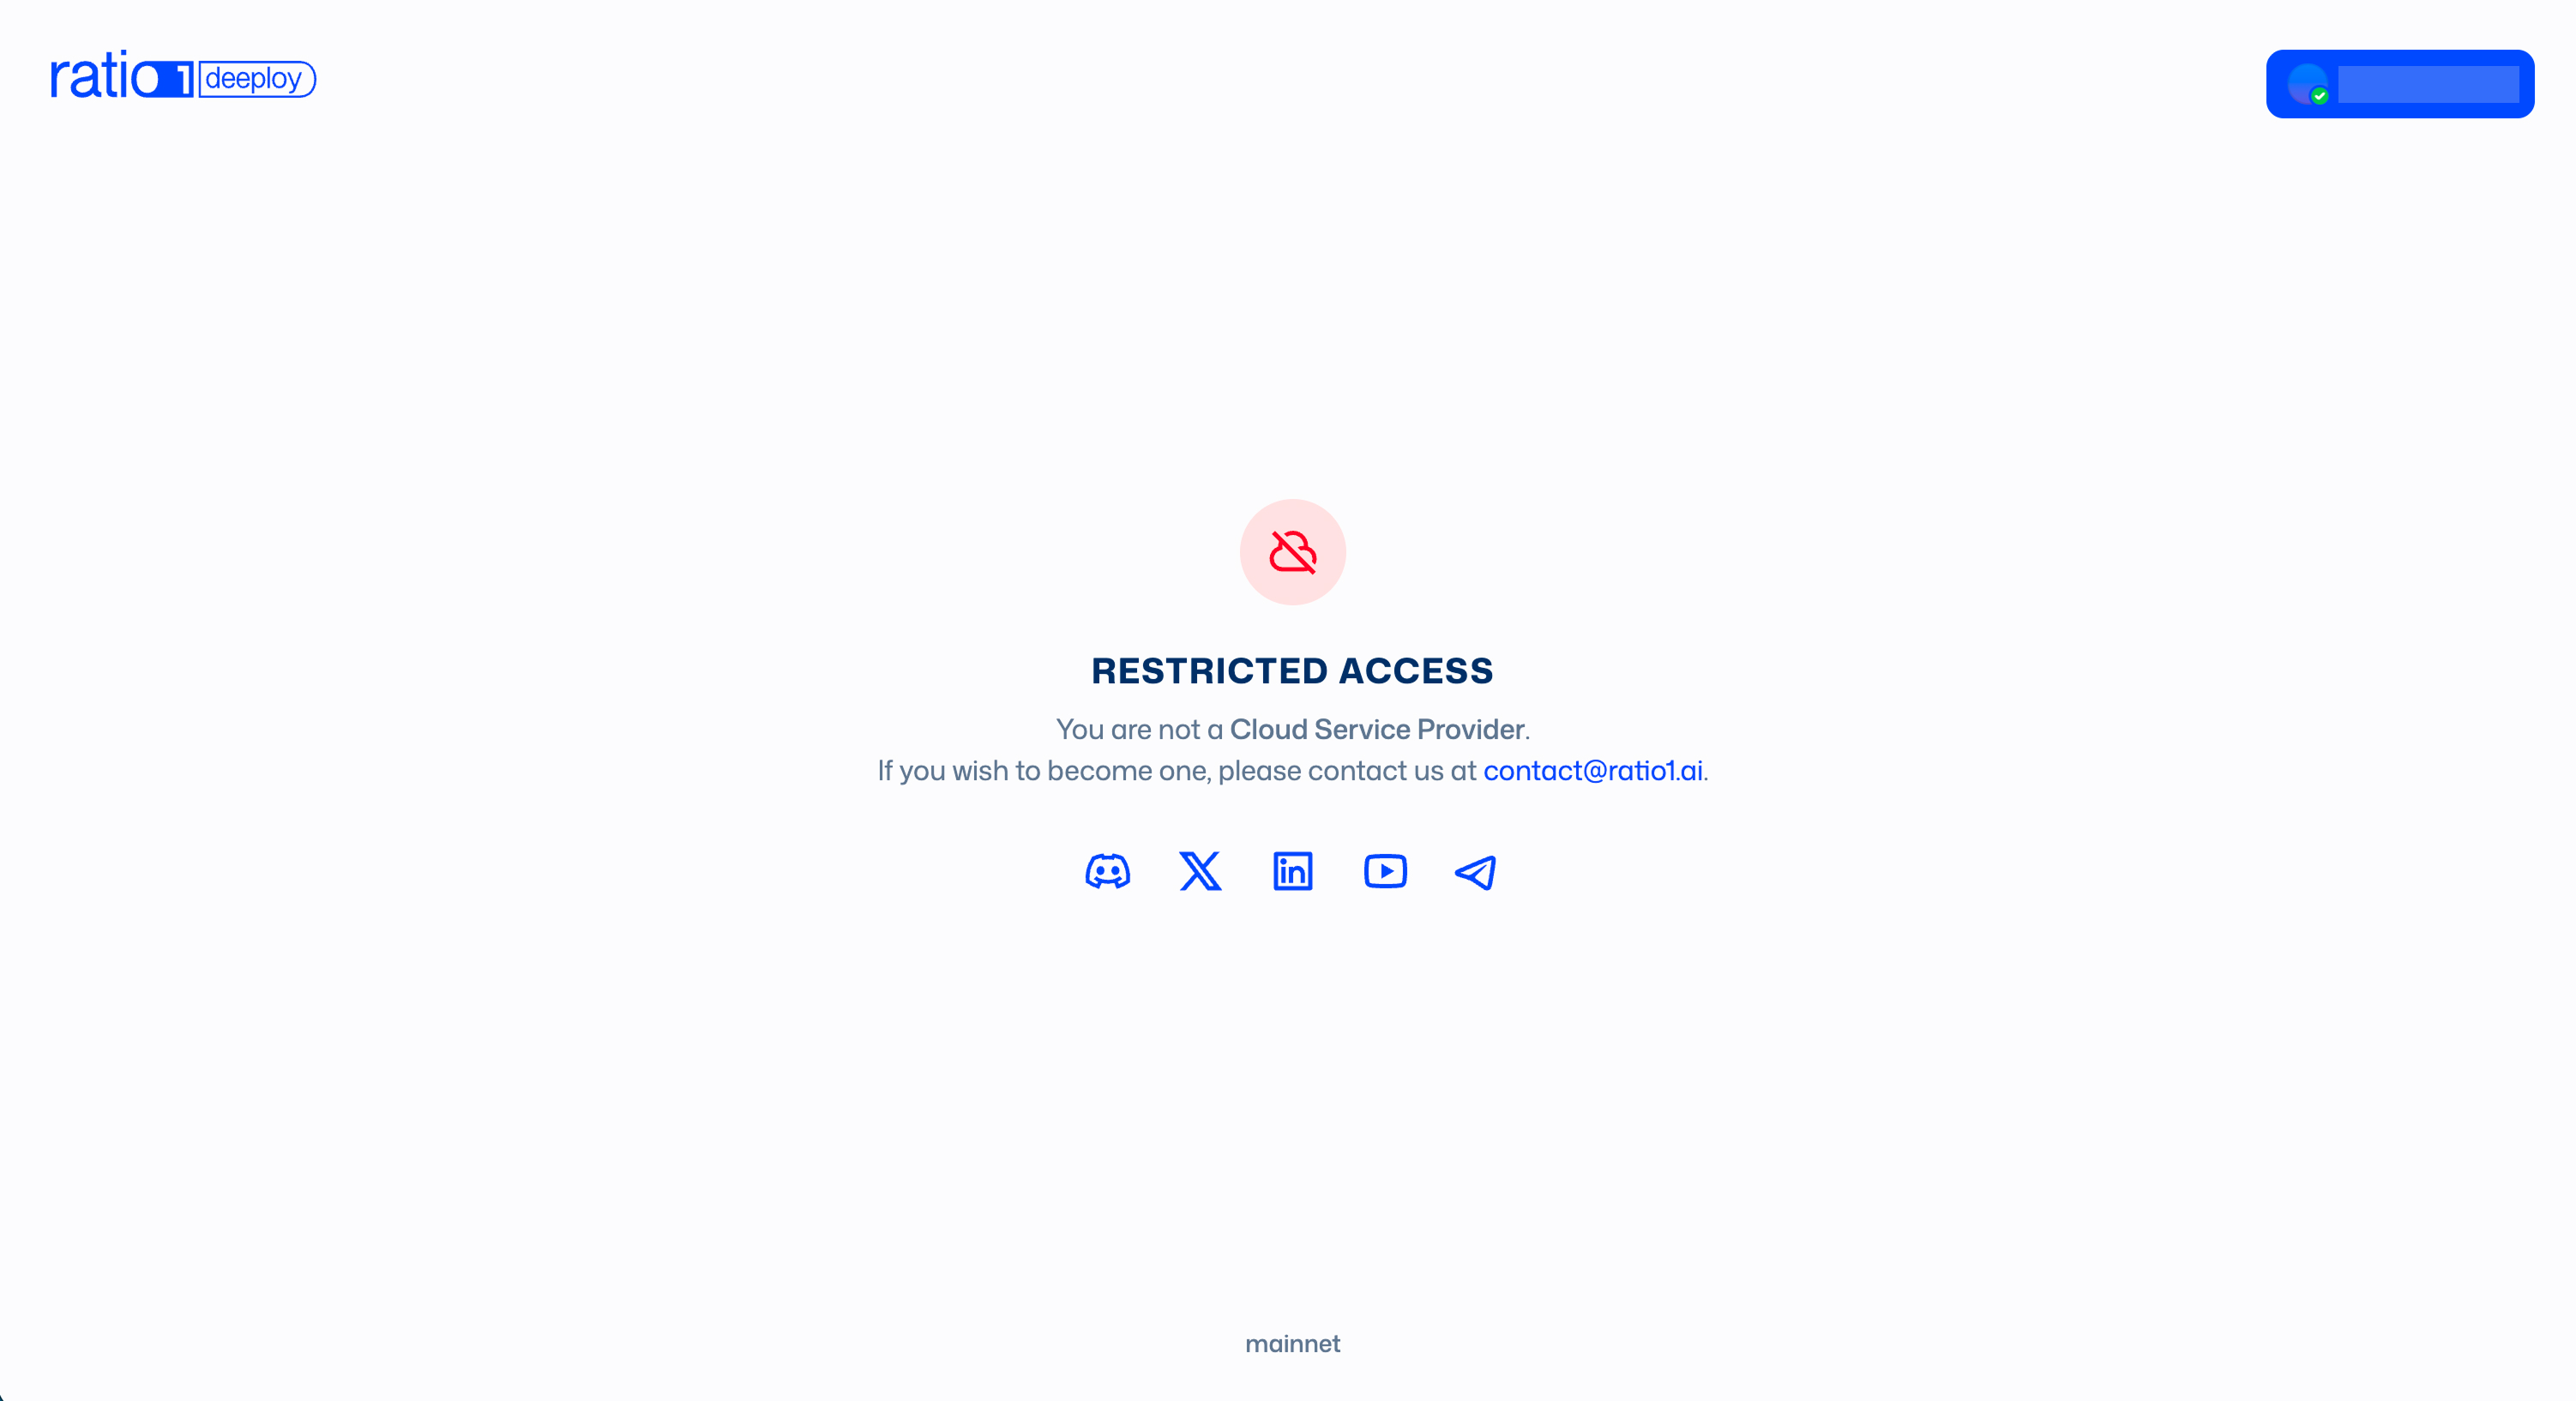
- You have a licensed oracle node (apply at [email protected])
- You have deployed your escrow smart contract instance
- You have set your identity & branding
- Your wallet has enough USDC and Base ETH (for gas fees) to cover deployment escrow and runtime costs
- You have a Cloudflare account for tunnel and domain integration
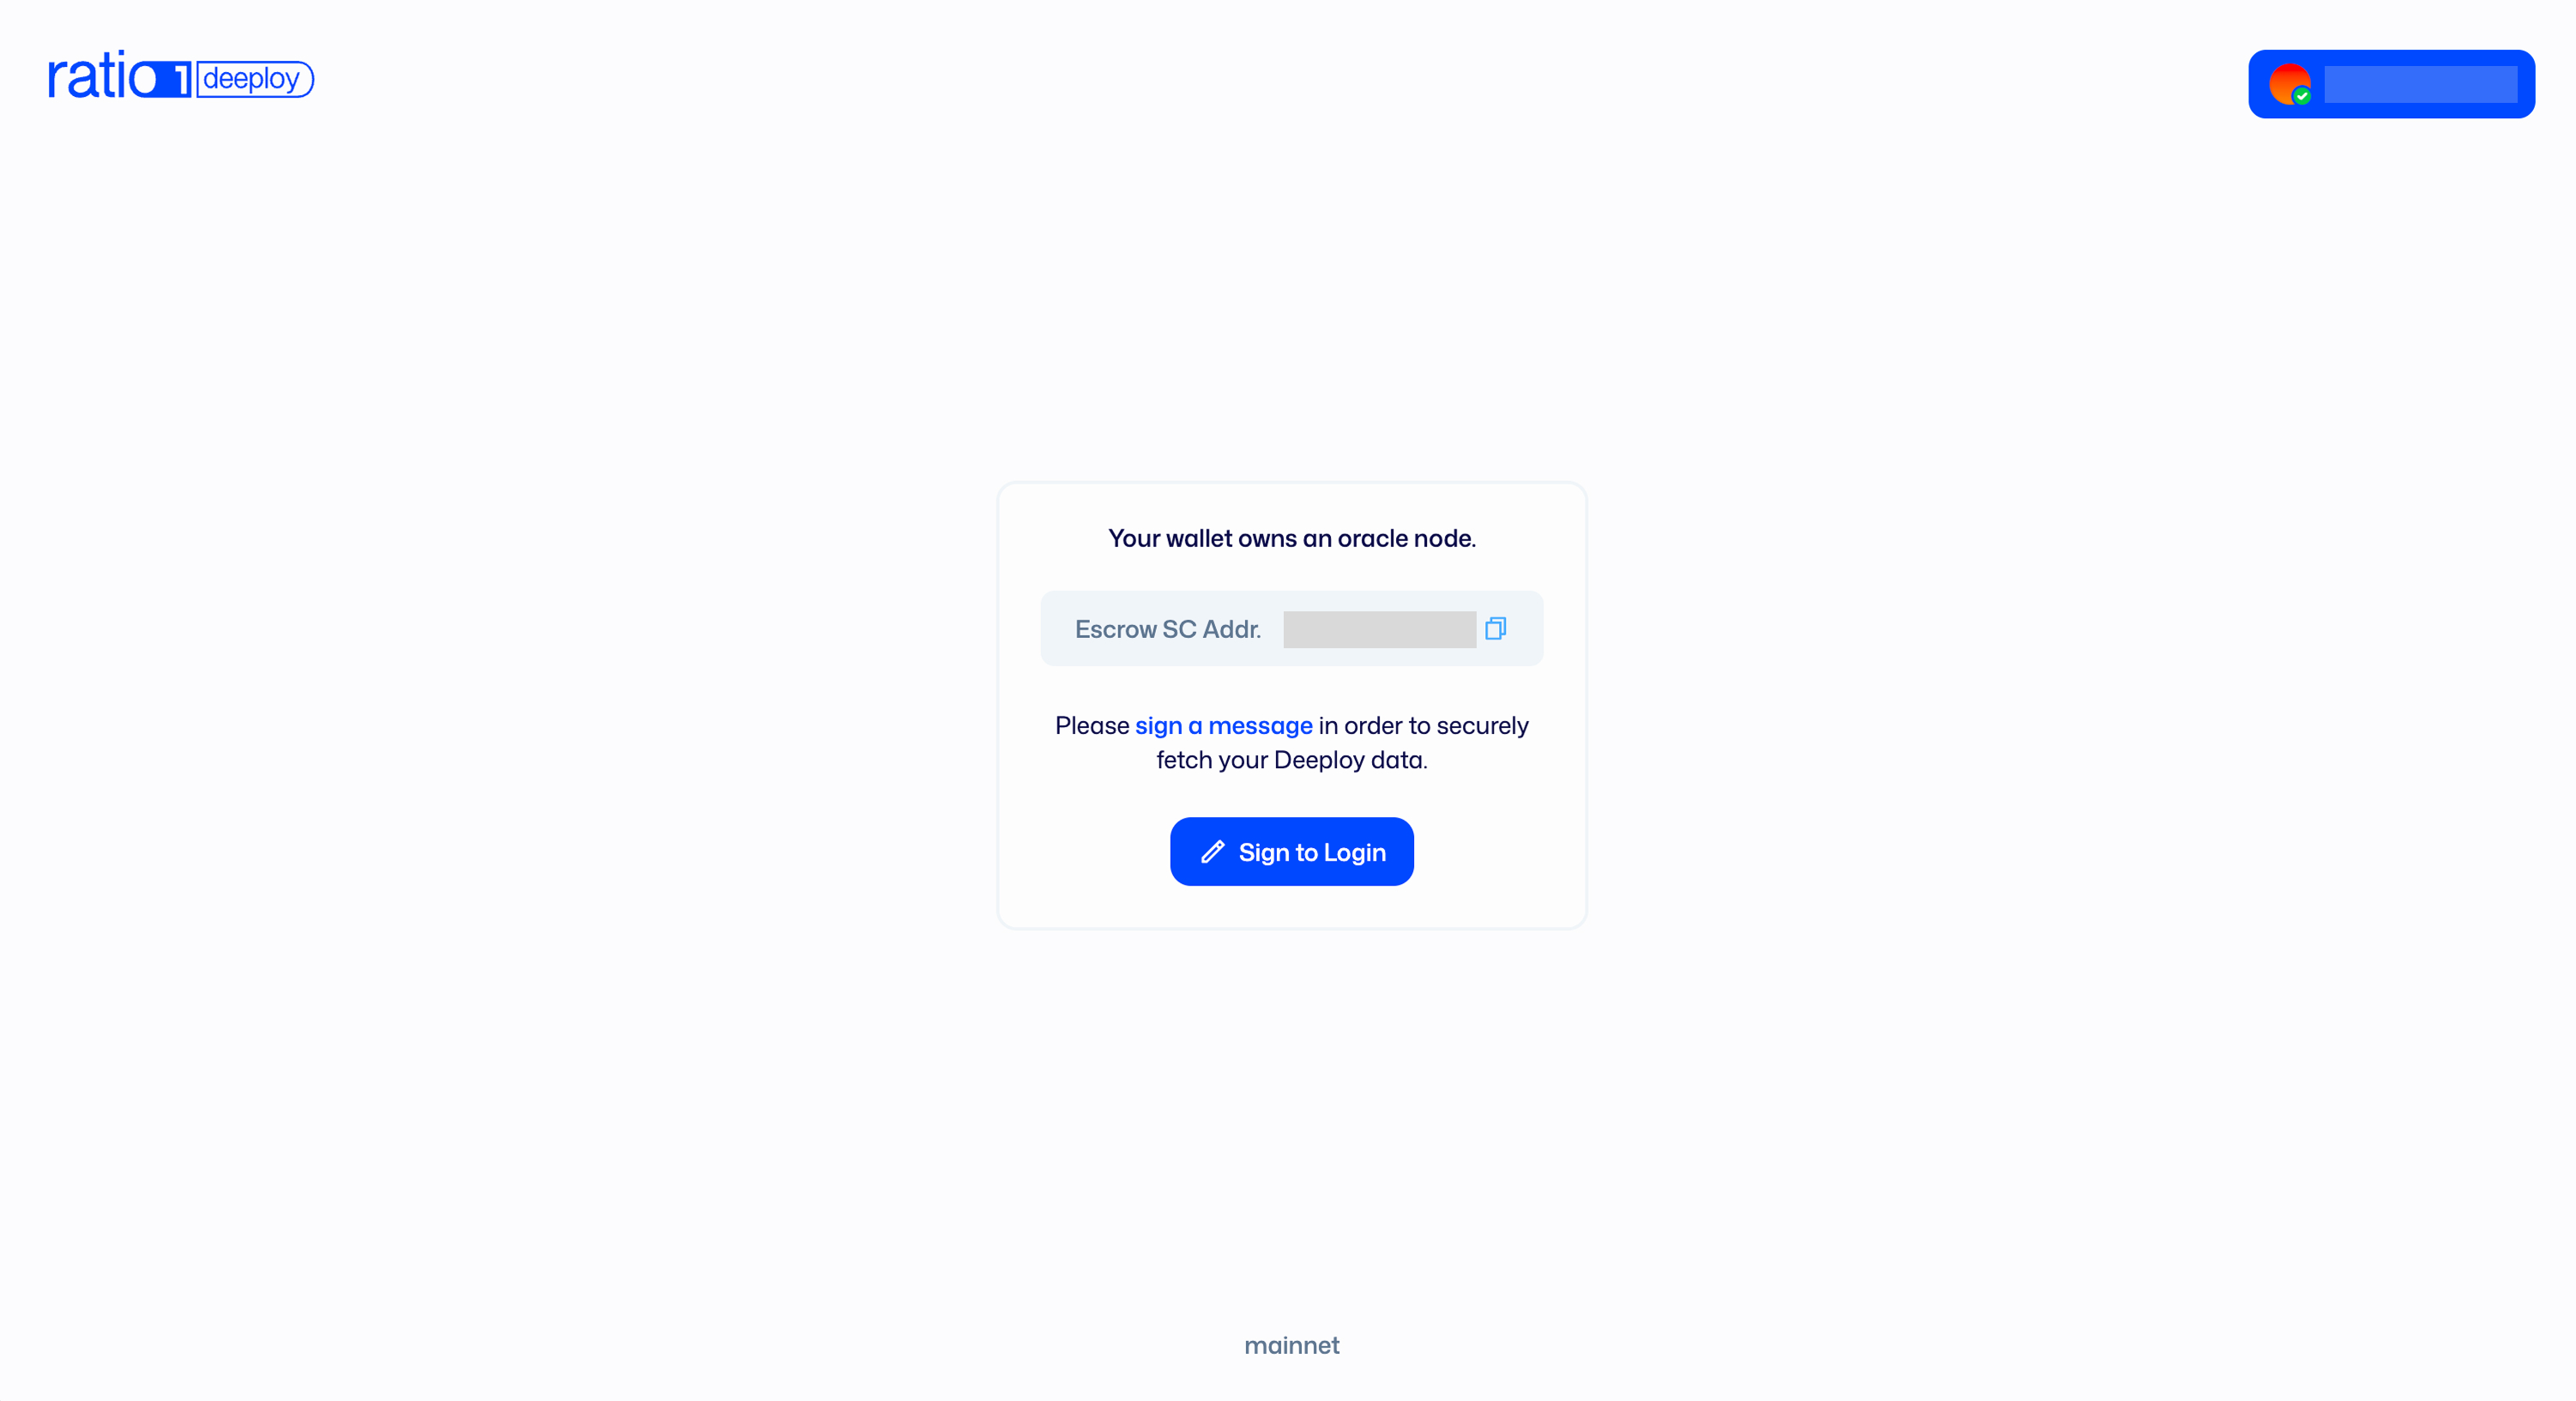
Step 1: Access Deeploy and prepare your CSP account
- Open the Deeploy interface and connect your wallet.
- Ensure your CSP contract and identity prerequisites are complete.
Step 2: Configure Deeploy Secrets (Cloudflare)
Add the Cloudflare values required by Deeploy:
Cloudflare Account IDCloudflare Zone IDCloudflare API KeyDomain
2.1 Prepare the domain
- Ensure the domain is connected to and managed by Cloudflare DNS.
- Decide which zone Deeploy will manage for tunnel-generated subdomains.
- Deeploy tunnel endpoints are generated as subdomains under that zone (for
example,
abcdef123456.yourdomain.com). - Recommended: use a dedicated domain for Deeploy workloads to keep app subdomains organized.
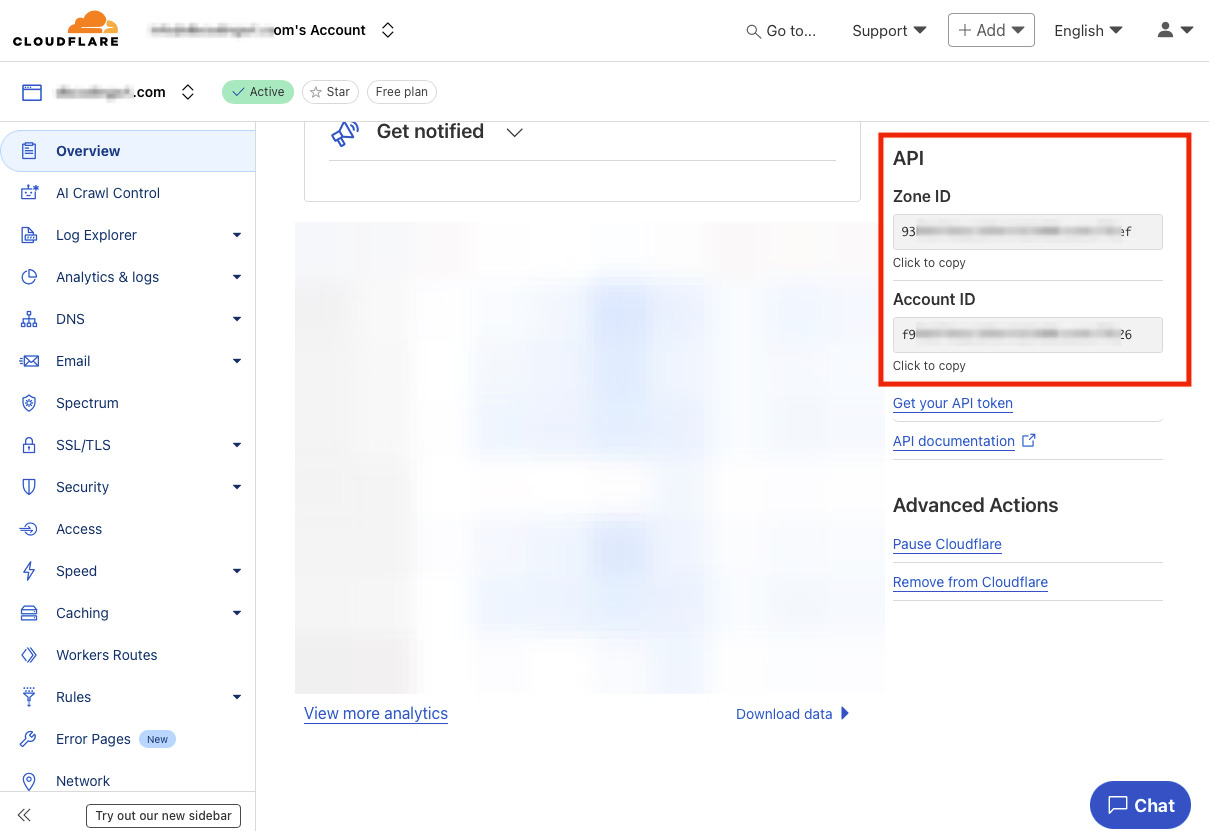
2.2 Find Account ID, Zone ID, and Domain
- Log in to
dash.cloudflare.com. - Open the target domain (zone).
- In the zone Overview page, locate the API section (right side) and
copy:
Zone IDAccount ID
- Set
Domainas that zone name (for example,yourdomain.com). - Paste these values into Deeploy Secrets.
2.3 Create the Cloudflare API token (for Deeploy API Key field)
- In Cloudflare, go to profile -> Manage Account -> Account API Tokens -> Create Token.
- Choose Create Custom Token and add these permissions:
Account - Cloudflare Tunnel - EditZone - Zone Settings - EditZone - SSL and Certificates - EditZone - DNS - Edit
- Scope access to the specific zone when possible (safer default).
- (Optional) Set token expiration if your security policy requires rotation.
- Copy the generated token and paste it into Deeploy's
Cloudflare API Keyfield.
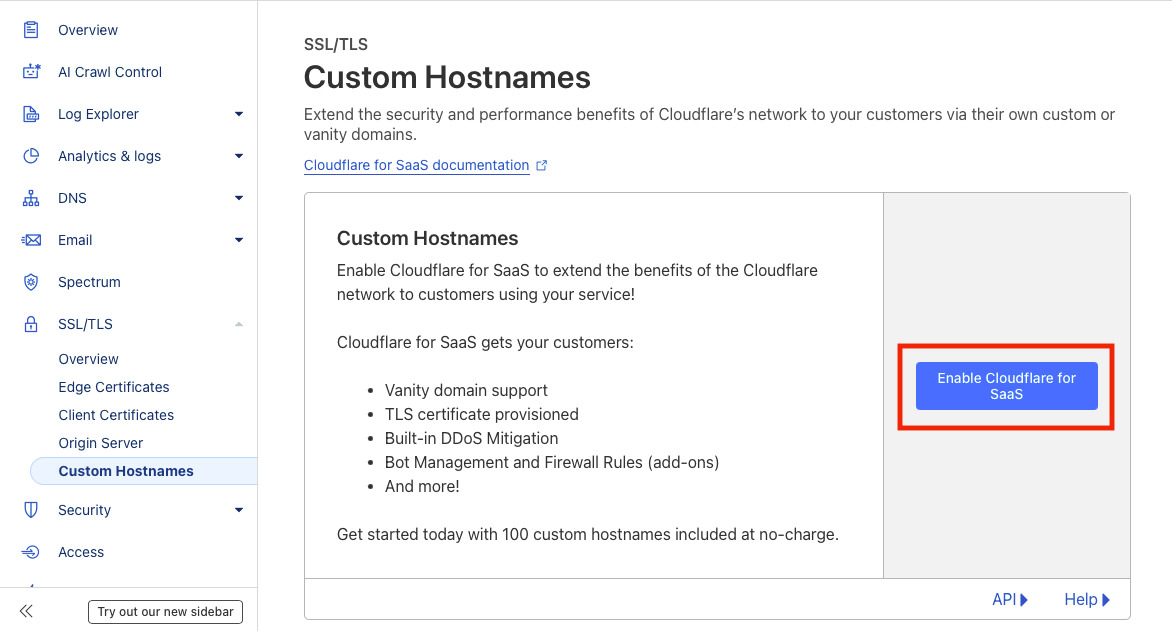
2.4 Optional: external domains
If you need to map domains outside your main Deeploy zone/account model, enable
Cloudflare for SaaS on the zone used for Deeploy tunnels (SSL/TLS ->
Custom Hostnames) and configure linked domains in Deeploy before adding
external CNAMEs.
Cloudflare for SaaS includes the first 100 domains at no extra cost, then additional domains are billed per Cloudflare pricing.

3. Ready for your first deploy
You are now ready to start deploying on Ratio1; continue with First deploy.
Notable date
- Reviewed on February 23, 2026.